| Downloads |
|---|
| FFmpeg Test Script |
The following FAQ will explore the issue of video processing and decoding on the BB-400, comparing both hardware decoding and software decoding. The issue we’ll be looking at is video processing and how when the BB-400 reaches peak operating temperature, the CPU throttles, resulting in video frames being dropped during processing.
The solution? By taking advantage of the Raspberry Pi’s built in H264 video hardware decoders, we’ll drastically reduce the CPU usage and associated challenges of heat dissipation and throttling, negating dropped video frames.
What is FFmpeg?
FFmpeg is a powerful open-source tool for handling multimedia files. It’s like a Jack-of-all-trades for video and audio as it can convert, edit, stream, and process almost any media format you throw at it. Developers use it for tasks like compressing videos, extracting audio, and even live streaming. It runs from the command line meaning it’s very flexible and It’s widely used in the background of apps and services, making things like video playback and processing work seamlessly.
Installing FFmpeg
Before we do anything else, we need to install FFmpeg onto our BB-400. You can either do this directly from the BB-400’s terminal or use an external SSH application. In this example, PuTTY is the application used.
First run:
sudo apt-get install ffmpeg
This will return the following, simply type “Y” and press Enter to authorise the disk space usage, then FFmpeg will continue to install:

After a minute or two, the installation process will finish and return us to the terminal, which lets us know that FFmpeg has been installed:
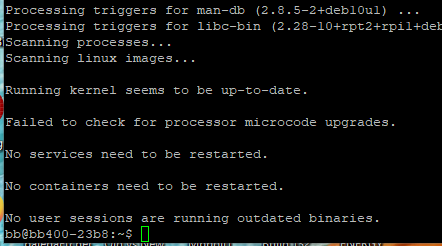
FFmpeg is now installed!
Script
The next thing we need to do is move the script we want to run onto the BB-400’s home directory.
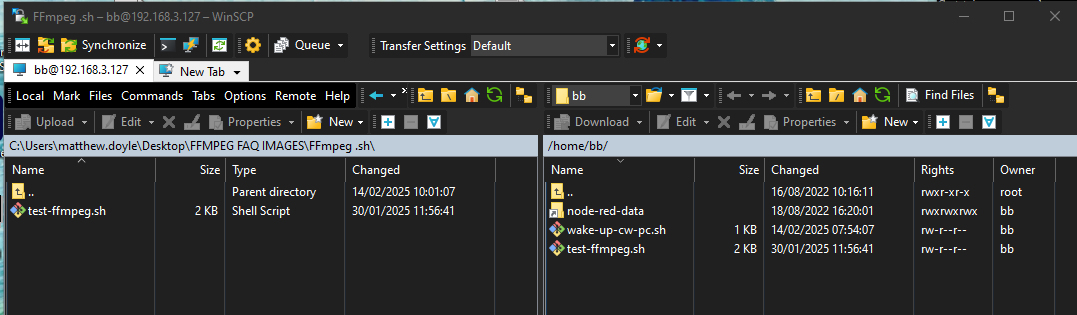
In this example, WinSCP is being used to do this, but you can use another third-party file transfer application if you wish (as long as it is capable of SFTP).
You can connect to the BB-400 by using BB400-XXXX or the device’s IP address, and then enter the same credentials used to log in to the device’s webpage. (XXXX being the last 4 digits of the device’s MAC address)
Once connected to the BB-400, simply move the test-ffmpeg.sh file (available in the downloads above), into the /home/bb/ directory and close your file transfer application.
Now that the script is stored locally on the BB-400 we can proceed with adding the current user (bb) to the video group, which allows the user to use the hardware decoders. To do so, run the command:
sudo usermod -a -G video bb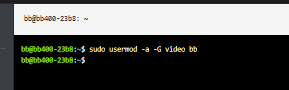
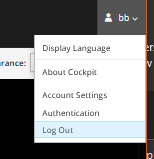
This command will return you to the command line like shown above. After running it, you will need to log out and back into the BB-400 for it to take effect.
Once we have logged back in, we first need to make the script executable with chmod using this command:
chmod +x test-ffmpeg.shNow that the script has been made executable, we are able to run the FFmpeg decoding script. Enter the following command into the terminal, with XXX.XXX.XXX.XXX being replaced by your cameras IP address:
./test-ffmpeg.sh rtsp://XXX.XXX.XXX.XXX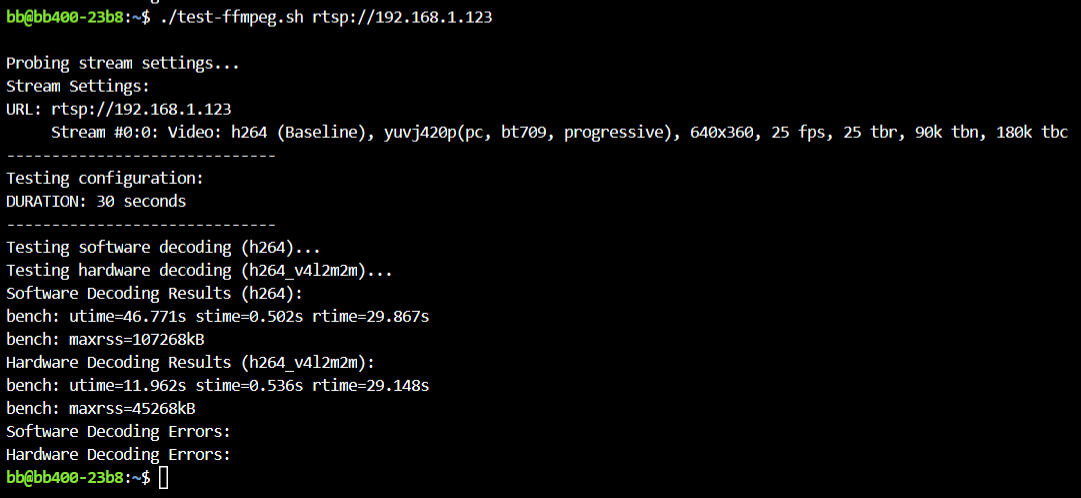
This should start the script, which compares the CPU and memory usage of using software decoding vs using hardware decoding. The script will then run for around one minute.
Script Output
Once the script has completed, it will output the following text:

Below is an overview to help understand the output from the script:
| Parameter | Explanation |
|---|---|
| Maxrss | The maximum amount of memory being used by the decoding operation |
| UTime | The total number of seconds the application has run using User Space CPU |
| STime | The total number of seconds the application has run using the System CPU |
| RTime | The total number of real time seconds |
Using the parameters above, we can calculate the total CPU usage with the formula:
UTime + STime ÷ RTime = CPU Usage % (Where 100% = 100% of 1 CPU Core)
During our test, we used a camera using 640x480px resolution at 25fps. When running the test script, we returned values of:
- Maxrss (Software) = 107268kB
- UTime (Software) = 46.771s
- STime (Software) = 0.502s
- RTime (Software) = 29.867s
- Maxrss (Hardware) = 45268kB
- UTime (Hardware) = 11.962s
- STime (Hardware) = 0.536s
- RTime (Hardware) = 29.148s
Using the equation above, (46.771 + 0.502 + 29.867 (Software), 11.962 + 0.536 + 29.148 (Hardware)), we validated that:
- Software decoding uses a maximum of 107MB of memory and 77% of CPU usage
- Hardware decoding uses a maximum of 45MB of memory and 42% of CPU usage
Summary
Looking at the results, we can see that hardware decoding drastically reduces the memory and CPU usage on the BB-400, freeing it up for other tasks that may be running on it.
To instruct FFmpeg to use hardware decoding, you must enter the following command into the terminal:
ffmpeg -i "$RTSP://XXX.XXX.XXX.XXX" -c:v h264_v4l2m2m -pix_fmt yuv420pWith the X’s being replaced by your IP camera’s IP address.
Once this command is run, your RSTP stream will now be decoded using hardware rather than software, benefiting CPU and Memory usage on the BB-400.
Related FAQs
Related Products
FAQs