FAQs
Contents
The 8 Input/Output (IO) lines on the BB-400 are controlled by an Arduino micro controller chip (ATMEGA16U4). By default, the BB-400 ships with a programmed Arduino and a server on the Raspberry Compute module, which allows for various communication protocols. However, there may be situations where you may wish to add new functionality to the Arduino. This FAQ will describe how to reprogram the Arduino, with your custom code.

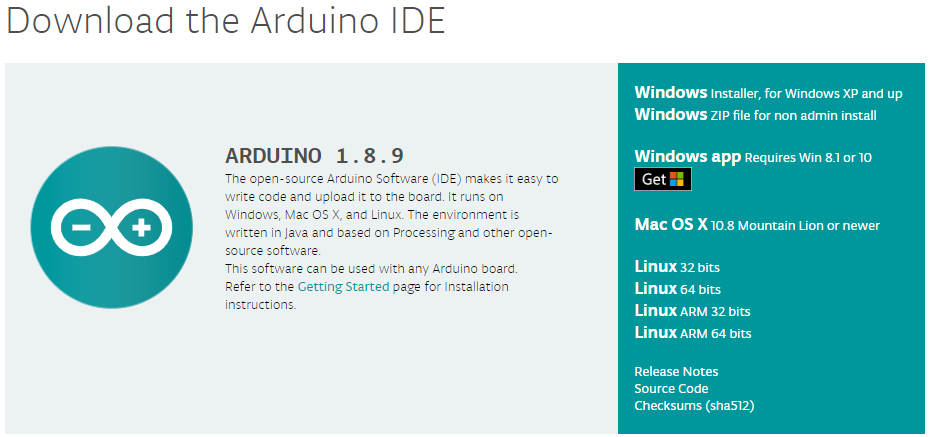
1. Install the Arduino IDE
Go to Arduino’s website to download and install the Arduino IDE: https://www.arduino.cc/en/main/software
2. Write the Arduino program
Open the Arduino IDE:

Example Arduino code:
The program below is written in Arduino programming language, which is a subset of the C programming language. Arduino call these programs “sketches”. The sketch toggles the DIO 0 Output Line 10 times (and also the corresponding LED for DIO 0) when a “start” command is received. It also responds to the ‘$01F’ command with the firmware version.
/* File name: arduino-example-1.ino
   This Arduino program toggles the state of DIO Output 0 10 times when the "start" keyword is received.
 */

#define FIRMWARE_VERSION_STRING "example-1"

// Defining Arduino's pin number corresponding to DIO 0 on the BB-400const int dout_pin_0 = 9;
const int din_pin_0 = A4;

// For reference these are the other Arduino pins which correspond to the DIO Lines on the BB-400
/* const int dout_pin[8] = {  9, 10, 5, 4, 13,  6, 11, 12 };
   const int din_pin[8]  = { A4, A5, 1, 0, A0, A1, A2, A3 }; */

// This class manages the DIO linesclass DigitalInputOutput
{
  int din_pin;
  int dout_pin;

public:// Initialise input pins void set_input_pin(int pin)
    {
      din_pin = pin;
      pinMode(din_pin, INPUT);
    }

    // Initialise output pins void set_output_pin(int pin)
    {
      dout_pin = pin;
      digitalWrite(dout_pin, LOW);
      pinMode(dout_pin, OUTPUT);
    }

    // sets digital output state void set_dout_state(bool newstate)
    {
      if (newstate)
      {
        digitalWrite(dout_pin, HIGH);
      }
      else
      {
        digitalWrite(dout_pin, LOW);
      }
    }
};

DigitalInputOutput digital_io;
String commandRx;

void setup() {
  // put your setup code here, to run once:

    // set up input and output pin
    digital_io.set_input_pin(din_pin_0);
    digital_io.set_output_pin(dout_pin_0);

    // set initial digital output state
    digital_io.set_dout_state(false);

    // start USB virtual serial port and wait for port to open
    Serial.begin(921600);
}

void loop() {
// put your main code here, to run repeatedly:

  // checks if any data receivedif (Serial.available() == 0) {
      return;
  }
  char inByte = Serial.read();
  // check if 'n' is receivedif (inByte==10)
  {
    Serial.println(commandRx);
    handle_received_command();
    commandRx = String("");
  }
  else
  {
    commandRx += inByte;
  }
}

// Simple function to toggle outputvoid toggle_dout()
{
  for (int i=1; i<=20; i++)
  {
    if (i%2 == 0)
    {
      // set the state of the digital output (bit set => driven low)
      digital_io.set_dout_state(false);
    }
    else{
      digital_io.set_dout_state(true);
    }
    delay(200);
  }
}

void handle_received_command()
{
  if (commandRx.startsWith("start"))
  {
    // starts to toggle line 0
    Serial.println("started");
    toggle_dout();
  }

  else if (commandRx.startsWith("$01F"))
  {
    // returns firmware version number
    Serial.println(FIRMWARE_VERSION_STRING);
  }
  else
  {
    // unknown command response
    Serial.println("?");
  }
}
Copy the above example program to the Arduino IDE.
3. Build the program and generate a hex file
- You’ll need to make sure the board type from Tools > Board menu is set to Arduino/Genuino Micro:

- Select Sketch > Export compiled Binary to generate the hex file. If there are any errors in the code then they will be listed. Fix the errors and recompile the code:

If there are no errors then the logs on the bottom of the IDE will say that the program compiled successfully:

- To view the location of the generated hex file, go to Sketch > Show Sketch Folder.
Reprogram the Arduino
- Copy the generated hex file from your PC to the BB-400 using a file transfer application like WinSCP.

- Within the BB-400 terminal window enter the BB-CLI command below to reprogram the Arduino.
$ sudo bb config.version.io_firmware /home/bb/arduino-example-1.ino.micro.hexIf the reprogramming was successful, the following message will be displayed:

Program in Python to communicate with the new Arduino firmware
By default the BB-400 ships with a service called BB-IO-Server. The service communicates with the Arduino, over a serial hardware connection, to control and monitor the IO lines. The sketch with which we have programmed the Arduino, will no longer work with the default BB-IO-Server. Therefore we will write our own Python code to communicate with the Arduino over serial, the BB-IO-Server service should be uninstalled, or disabled and stopped, to avoid multiple access to the Arduino.
- If you intend to use your own program to communicate with the Arduino, then Brainboxes recommends that you uninstall the BB-IO-Server package. The command to uninstall the BB-IO-Server is:
$ sudo apt-get remove -y bb-io-server - You can also stop the BB-IO-Server service on the BB-400 webadmin web page. Go to:
localhost > Services > BB-IO-Server > Stop and localhost > Services > BB-IO-Server > Disable
Example Python code to talk to the Arduino
This Python program will open a serial connection to the Arduino, print the firmware version and toggle digital output 0 20 times (also makes the DIO 0 LED on the front of the BB-400 blink).
Install pyserial if library not installed already:
$ sudo pip3 install pyserial
import serial
import os
import sys

# the path to access the Arduino serial port on the BB-400
PORT_NAME = '/dev/serial/by-id/usb-Arduino_LLC_Arduino_Micro-if00'# serial port timeout (in seconds)
TIMEOUT = 2

# baud rate
BAUDRATE = 921600

# location of the lock file for serial port in Linux (http://www.tldp.org/HOWTO/Serial-HOWTO-13.html)
LOCK_FILE = '/var/lock/LCK..ttyACM0'# setting the serial port properties
arduino = serial.Serial()
arduino.port = PORT_NAME
arduino.baudrate = BAUDRATE
arduino.parity = serial.PARITY_NONE
arduino.stopbits = serial.STOPBITS_ONE
arduino.timeout = TIMEOUT

# Use lock file to prevent multiple access to the Arduinoif os.path.exists(LOCK_FILE):
    with open(LOCK_FILE, 'r') as f:
        print("ERROR: Arduino is already open by process id: " + str(f.read()))
        print("Please stop the above process to run this program")
    sys.exit(1)

try:
    # open the serial port
    arduino.open()
    arduino.flushInput()

    # send command to read the firmware version
    arduino.write("$01Fn".encode("ascii"))
    print("FIRMWARE VERSION: " + arduino.readline().decode("ascii"))

    # send command to make the DIO 0 LED blink
    arduino.write("startn".encode("ascii"))
    print("COMMAND RESPONSE: " + arduino.readline().decode("ascii"))

except Exception as e:
    print("Exception occurred: " + str(e))

finally:
    # close the serial port connection
    arduino.close()
- Run the above python program as show below:

The Python program will make the DIO 0 LED blink 10 times.
Note:
- If the Arduino is reprogrammed then the BB-IO-Server service which controls the DIO lines may fail to work properly. You may not be able to change or control the DIO lines through the webadmin page. If you want to revert the changes then do
sudo bb resetand install BB-IO-Server (sudo apt-get install bb-io-server bb-webadmin-io). - If you do not want to do a full reset, then run the command
sudo bb config.version.io_firmware 1.0.10on the BB-400 terminal to revert back to Brainboxes firmware, where1.0.10is Brainboxes’ latest Arduino firmware which can be found at the location:/usr/share/brainboxes/bb-arduino. - In order to ensure consistent version number it is good practice to:
- Put the firmware version in the hex file name. For example, if the firmware version is
example-1then the file name should contain the word example-1:arduino-example-1.ino.micro.hex.- Implement the ‘$01F’ command to return the firmware version number, as this command is used by BB-CLI to store the firmware version on the configuration file.
- Put the firmware version in the hex file name. For example, if the firmware version is
Known issue:
If the Arduino is reprogrammed multiple times in the same session, then occasionally the Arduino can disconnect. When running the lsusb command in a terminal window the Arduino will not be featured in the list of available USB devices, unlike in the screenshot below:

If the Arduino is not listed then running a soft reboot: sudo reboot now will fix the problem.
Further Reading
Related FAQs
Related Products
Related Range
FAQs